The rough with the smooth
- Lel

- Sep 5, 2024
- 3 min read
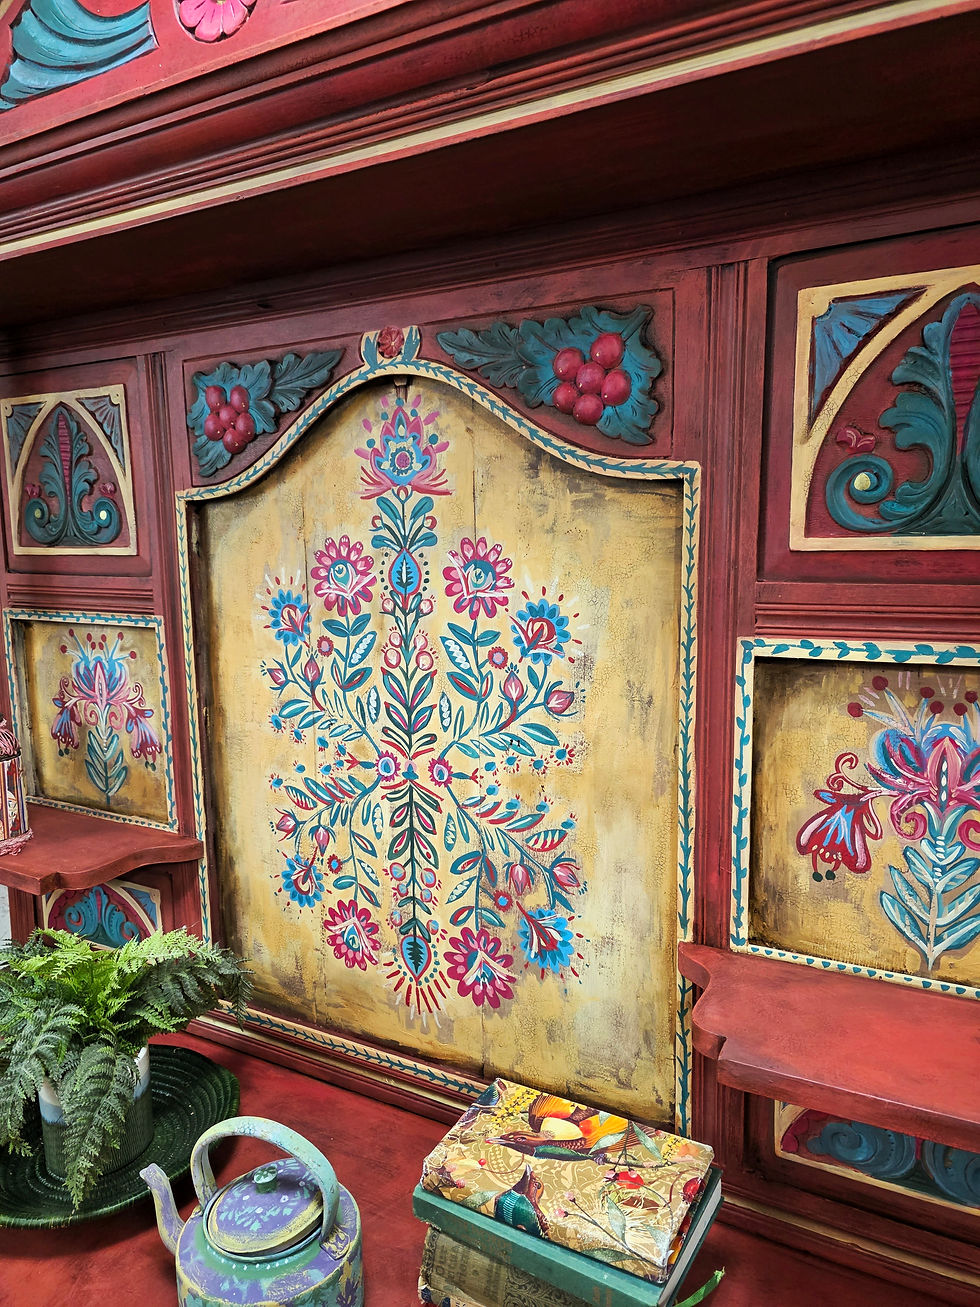
The power of texture on your furniture is important when thinking of furniture art.
You may have watched other furniture refinishers spray painting furniture. And their top mission, as if they were James's bond saving the world is to get the girl to make sure that their finish feels so smooth it's just like a factory finish.... Why?

That's not us. An artist painting a canvas needs texture and layers on a Canvas to create a painting. Think of your furniture just like a canvas. Your base coat is their gesso.
Texture is created by using different applications such as stippling, ragging, frottage, cross hatch strokes, as well as using different methods of application like painting, or using a pallet knife, or a roller, a silicone blade or just about anything else that you have lying around your studio or house to create the effect your looking for.
Bring your game face to layers on your furniture. Play, be bold in adding texture. Remember Bond like to shake things up, not just stir.

Well layering paint is one way. The drama that can be achieved by a layered paint look can set a beautiful scene for a furniture transfer or stamping project. And the more layers of paint the more textured your piece.

Distressing, sanding, or wet distressing. Revealing layers adds depth and age. Never discount the power of chalk paint. Save the thick paint in the bottom of the can and add this to edges corners around your handles. Think about dry brushing, or what about adding gold leaf for a smooth texture then raised stencilling over the top... The texture options are endless.
How else is it achieved? Well, there are a few different products currently on the market that thicken paint and add texture to your paint, but I've found these to be expensive and no different from simple bentonite clay. Which you add to your paint of choice and boom. It's as thick as my dad's porridge... At this point if you want to add our Made by Marley decoupage paper now is the time.
Remember to take the texture right to the transition line of your paper covering the paper line. Consider raised Stencils either at the end of your process or at the start before you paint your furniture.
Play with Das Clay. Use moulds to build Interest with the application of your moulds it is important that you apply them on flat plain furniture before painting. Ask me how I know.

Layering, it is great fun and makes you giddy, as it's fun and messy....
Try applying your thickened paint with various implements like silicone blades or an old scraper or cardboard will also give a great base for a textured finish scoring it with a stir stick or even stamping into has a great impact. Then what? well simply let it dry and repeat the layers. As many as you want, changing your colours as you go.
Then let it be for a couple of days and sand your piece to reveal all the wonderful, coloured layers till you are okay with it.. Stamp over it.... Add a transfer.

Paint a design you now have the most wonderful base for your art.
The furniture looks like it has movement and depth with the layers and it feels awesome.. Although do sand back any texture that's sharp or too raised.
So go forth create layered looks and textured finishes and have fun exploring and experimenting with texture.
We are not saving the girl like bond. We are saving the planet, reworking and reimaging landfill furniture....... Be a furniture hero.


So very informative and the images are perfect to display your style. No doubt I will be referring to this information again and again.